

Cleaning Vintage Vinyl Records Safely: A 2026 Guide

Table of Contents
Gathering Your Tools: What You Need for Safe Cleaning
The Best Vinyl Record Cleaning Solution for Vintage Pressings
Why the Ratio Matters More Than the Brand
The Patch Test Most Guides Skip
Solution Cheat Sheet
The Environmental Angle
Step-by-Step: How to Clean Vintage Vinyl Records Safely
Dry Brushing with a Carbon Fiber Brush
Wet Cleaning and Rinsing
How to Remove Mold from Vinyl Records Without Damage
How to Fix Warped Vinyl Records Safely
Deep Cleaning vs. Surface Cleaning: When to Use Each Method
What Each One Actually Does
The Decision Framework
A Practical Schedule
Why Over-Cleaning Is a Real Risk
Troubleshooting After Cleaning: Common Issues and Fixes
Conclusion
Frequently Asked Questions
Last Updated: September 27, 2026
Gathering Your Tools: What You Need for Safe Cleaning
Cleaning vintage vinyl records safely starts with the right kit, not the most expensive one. At Mr Records USA, we've handled thousands of pressings over 35 years.
You need six things:
A carbon fiber brush for dry dust
Two microfiber cloths (one for washing, one for drying)
Distilled water (never tap water)
A mild cleaning solution
A drying rack or clean towel
Inner and outer sleeves for storage
Tap water is the biggest mistake. It carries minerals that leave residue in the groove and cause surface noise. Distilled water costs almost nothing and removes that risk entirely.
Watch Out Never use paper towels or old t-shirts. Paper fibers shed and scratch, and cotton leaves lint behind in the groove. Use microfiber only.
The Best Vinyl Record Cleaning Solution for Vintage Pressings
The best vinyl record cleaning solution for vintage pressings is a simple mix of distilled water and a small amount of isopropyl alcohol, applied sparingly. Older records have softer vinyl, so harsh solvents do more harm than good.
A common approach is a 3:1 ratio of distilled water to 90% isopropyl alcohol, plus one drop of mild dish soap per litre. That's it.
Why the Ratio Matters More Than the Brand
Isopropyl alcohol is the workhorse: it dissolves oily fingerprints and evaporates fast enough that it doesn't sit in the groove. But concentration is a trade-off. Too little and you're just moving grime around; too much and you risk dulling the vinyl surface and lifting label ink. Most practitioners land between 20% and 33% alcohol by volume for vinyl, the 3:1 mix sits at roughly 25%, which is why it's the default.
A few drops of mild, fragrance-free dish soap act as a surfactant. Surfactants lower the water's surface tension so it can actually reach the bottom of the groove instead of beading on top. Skip anything with lotion, degreaser, or citrus additives, those leave their own residue.
The Patch Test Most Guides Skip
Before any DIY solution touches a rare pressing, run a patch test. This is the step that separates a safe clean from a ruined label.
Pick an inconspicuous spot: the run-out groove (the smooth band between the last track and the label) is ideal.
Apply one drop of your mixed solution to a clean cotton swab.
Dab, don't wipe, the run-out area and a tiny corner of the label edge.
Wait five full minutes. Evaporation and any reaction take time.
Inspect under good light. The vinyl should look unchanged. The label ink should not bleed, feather, or lift.
If the vinyl dulls, clouds, or the label smears, stop. Fall back to distilled water only for that record. Some 1960s and 1970s pressings used inks and laminates that are far more alcohol-sensitive than the vinyl itself.
Watch Out Never test on the playing surface. A failed patch test on the run-out groove costs you nothing; a failed test on track one costs you the record.
Solution Cheat Sheet
Solution | Best For | Risk Level |
Distilled water only | Shellac, 78s, fragile labels | Very low |
Water + isopropyl (3:1) | Most vinyl pressings | Low |
Water + isopropyl (1:1) | Mold, heavy grime (rinse twice) | Medium |
Commercial fluid | Stubborn residue, if label-safe | Medium |
Household cleaners, vinegar, bleach | Never | High |
The Environmental Angle
If you'd rather avoid alcohol entirely, enzyme-based record cleaners and plain distilled water with a surfactant work for routine cleaning. They're slower to evaporate and need a more thorough rinse, but they're non-toxic and biodegradable, a reasonable trade for collectors who clean indoors without ventilation. Whatever you choose, the rinse step is non-negotiable: any cleaner left in the groove becomes surface noise on the next play.
Step-by-Step: How to Clean Vintage Vinyl Records Safely
Cleaning vintage vinyl records safely takes about five minutes per record once you have a routine. Follow these steps in order, and work on a clean, flat surface with good light.

Dry Brushing with a Carbon Fiber Brush
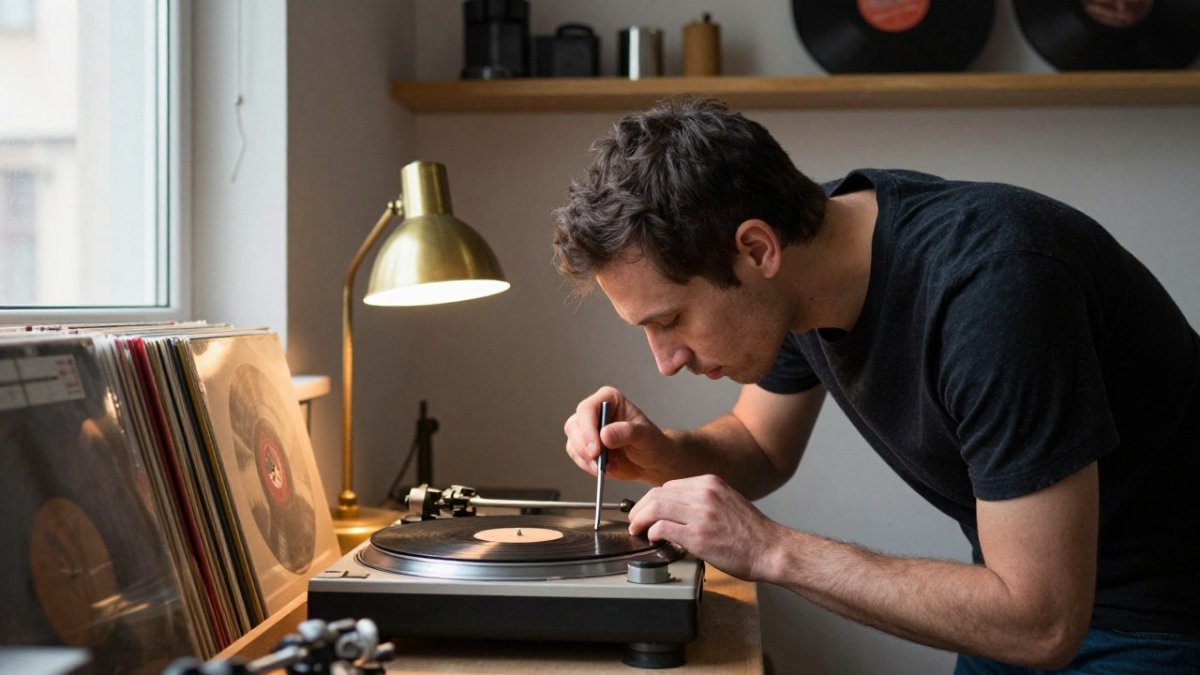
Dry brushing removes loose dust before any liquid touches the record. Place the record on your turntable, start it spinning, and hold the carbon fiber brush at a slight angle.
Let the bristles rest on the surface for two or three rotations. Then sweep outward toward the edge to pull debris off. The brush also cuts static electricity, which is what attracts dust in the first place.
Wet Cleaning and Rinsing
Wet cleaning handles fingerprints, residue, and anything bonded to the groove. Apply a small amount of solution to one section of your microfiber cloth.
Pro Tip Clean your stylus after every wet-cleaned record. Loose debris collects on the tip and can transfer straight back into the groove on the next play.
How to Remove Mold from Vinyl Records Without Damage
To remove mold from vinyl records, isolate the record first and clean it outdoors or in a ventilated room. Mold spores spread fast, and one damp sleeve can infect an entire shelf.
Sound Matters
How to Fix Warped Vinyl Records Safely
Fixing warped vinyl records safely means slow, even heat and pressure, never a quick fix. Aggressive methods crack the vinyl or flatten the groove itself.
Key Takeaway Mild edge warps often play fine with a properly set tonearm. Test playback before you attempt any flattening, because the "fix" can cause more damage than the warp.
Deep Cleaning vs. Surface Cleaning: When to Use Each Method
Most guides blur these two into one 'how to clean a record' routine. They are not the same job, and treating them as one is how collectors over-clean their best pressings and under-clean their worst.
What Each One Actually Does
Surface cleaning removes what sits on top of the groove: dust, lint, and loose static-bound particles. It's a dry or barely-damp operation, a carbon fiber brush, maybe a light microfiber wipe. It takes under a minute and touches only the top of the groove wall.
The Decision Framework
Ask three questions before you reach for the solution bottle:
Does the record crackle after a dry brush? If yes, the noise is in the groove, not on it. Surface cleaning won't help, go deep.
Where did it come from? Estate sales, storage units, and thrift bins almost always need a deep clean. A record that's lived on your shelf in a sleeve does not.
How often has it been deep-cleaned? If you can't remember, it's probably due. If you cleaned it last month, it isn't.
A Practical Schedule
Every play: carbon fiber brush, dry.
Every 5-10 plays: light microfiber wipe with distilled water.
Once or twice a year, or on arrival: full deep clean.
Never: deep clean the same record repeatedly in a short window.
Why Over-Cleaning Is a Real Risk
Every wet clean involves mechanical contact and liquid exposure. Repeated deep cleans on the same pressing stress the groove walls, risk liquid reaching the label, and can leave residue if the rinse is rushed. A record that's already clean gains nothing from another wash, and loses a little each time. The goal is to deep-clean when the record needs it, not on a fixed calendar.
Key Takeaway Surface cleaning is maintenance. Deep cleaning is restoration. If you can't articulate which one a record needs, default to surface, you can always go deeper next week, but you can't undo a damaged label.
Troubleshooting After Cleaning: Common Issues and Fixes
Problems after cleaning usually trace back to residue, static, or a label that got wet. Here's how to diagnose each one.
Problem | Likely Cause | Fix |
More surface noise | Soap or mineral residue | Rinse again with distilled water |
Static crackle | Dry air, no anti-static step | Use a carbon fiber brush before play |
Dull or cloudy vinyl | Alcohol too strong | Switch to water-only cleaning |
Smeared label ink | Liquid reached the label | Dry flat, avoid alcohol near center |
Warping after wash | Dried unevenly or in heat | Air-dry flat, away from sunlight |
Conclusion
Cleaning vintage vinyl records safely comes down to patience and the right basics: distilled water, microfiber, a carbon fiber brush, and a light touch around the label. Skip the shortcuts, and your pressings will last for decades.
Frequently Asked Questions
What is the safest way to clean old vinyl records?
The safest method is a two-step process: dry brushing with a carbon fiber brush to remove loose debris, followed by wet cleaning with a solution of distilled water and a small amount of isopropyl alcohol (if the record is not shellac). Always test any solution on a small area first. Avoid tap water, which leaves mineral residue that can damage grooves. Use a microfiber cloth and dry vertically on a rack.
Is WD-40 good for cleaning vinyl records?
No. WD-40 is a lubricant, not a cleaner. It leaves an oily residue that attracts dust and can permanently damage the groove walls, causing surface noise and stylus mistracking. It may also degrade the vinyl over time. Stick to purpose-made record cleaning solutions or a DIY mix of distilled water and isopropyl alcohol (for non-shellac records). Never use household lubricants on your collection.
Can you use tap water to clean vintage vinyl?
Tap water is not recommended because it contains minerals, chlorine, and other contaminants that can leave a film in the grooves. That residue attracts dust and can cause surface noise. Always use distilled water for both mixing cleaning solutions and rinsing. If distilled water is unavailable, filtered water is a better alternative than tap, but distilled remains the standard for safe cleaning.
How do you remove deep dust from old record grooves?
Deep dust requires a wet cleaning method. First, dry brush with a carbon fiber brush. Then apply a few drops of cleaning solution (distilled water plus a small amount of isopropyl alcohol for vinyl) along the grooves. Gently scrub with a microfiber cloth or a dedicated record cleaning brush, following the groove direction. Rinse with distilled water, then dry vertically. For stubborn dirt, repeat the process or use a vacuum-based cleaning machine.
Search
Comments